Last Updated on 12.07.2025 by DriverNew
 Drivers for printer and scanner: Pantum M7109D. Several files are available for download on the official Pantum website for this model, and it is not always clear which one you should choose. This article provides links to verified installation files from the official Pantum website that contain the necessary drivers and software for the full operation of the device and usually do not cause installation problems. The article also includes instructions for the proper installation of the software.
Many users have a question: at what point should they connect the printer to the computer – before installing the drivers or after. Answer: The printer manufacturer Pantum M7109D recommends first connecting the printer to your computer and then proceeding with installing drivers. Other printer manufacturers recommend installing the driver first and then connecting the printer to your computer, so that the operating system does not install its own driver when it detects a connected printer. Pantum printers do not have problems with this. Therefore, the Pantum printer can be connected to the computer before installing the drivers.
These are the drivers and software that are on the CD that came with your printer: Pantum M7109D.
| Drivers and software | Operating system versions | Download drivers and software |
| Pantum M7109D Drivers and software for printer and scanner (Windows) | ||
| Pantum M7109D Drivers and software for printer and scanner (Mac) | ||
| Pantum M7109D Drivers and software for printer and scanner (Linux) |

User Manual (English), PDF document
Download User Manual, ZIP archive
The User’s Guide contains information about setting up and using the device.
Installing drivers and software for printer and scanner: Pantum M7109D. Double-click the downloaded .exe file. It will be decompressed and the Setup screen will be displayed. Follow the instructions to install the software and perform the necessary settings.
This video shows how to install drivers for the printer and scanner: Pantum M7109D.
How to fix problems that make your printer or scanner not work: Pantum M7109D.
If you have installed the drivers for Pantum M7109D but the printer or scanner does not work or stopped working after updating your Windows operating system, then follow the steps below to solve the problem. Completely uninstall the drivers and other software that was installed along with those drivers. After that, be sure to restart your computer and install the new drivers. Read more about how to properly install and uninstall printer and scanner drivers: read here.
How to scan documents and photos
After installing the software, a shortcut to use the scanner will be created on your computer’s desktop. Recommended scanning resolution: 300 dpi (suitable for scanning any documents and photos). The higher the resolution, the longer it takes to scan and the larger the file size. It is better to use “JPG” or “PNG” format to scan photos. For scanning documents it is better to use “PDF” format. The quality of scanned documents is good and there is no need to change any other settings of this software.
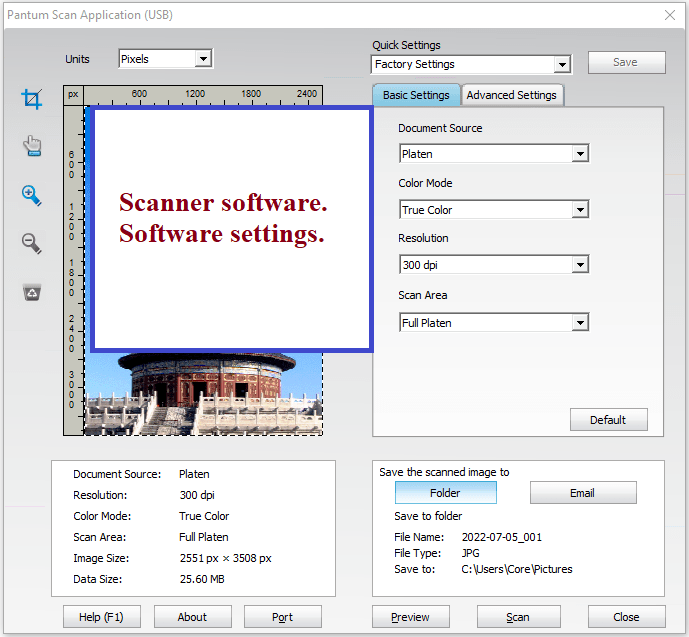
Pantum M7109D
You can scan using free Windows tools or the NAPS2 app.
Windows Scan is a free app for Windows 11, Windows 10, and Windows 8.1 that you can download from the Microsoft Store and use to scan documents and pictures.
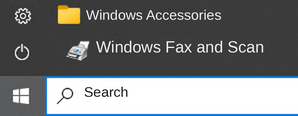
Windows Fax and Scan is a built-in app for Windows 10, 8.1, 8, and 7. To open it, click Start or use Windows Search. In the search box, type: Windows Fax and Scan.
NAPS2 is a free scanning app that lets you save files as PDF, TIFF, JPEG, or PNG and offers more flexible settings.
To learn more about these apps, which one to choose, and how to use them, read this article.
Important: These apps require a scanner driver. If a driver from the manufacturer is available for your model, it is best to install it first. If Windows has already installed a driver automatically and scanning works properly, reinstalling it is usually not necessary.
This is the original software for the printer and scanner: Pantum M7109D. Installing the software is quick and easy. Start installing the software. During the installation process, a message will appear on your monitor informing you when to connect the printer to your computer. Therefore, prepare the printer in advance to connect to your computer.
After installing this software, you will be able to print, scan and use all the features of your Pantum M7109D printer. You don’t need any other software.


Leave a Reply