Last Updated on 01.10.2026 by DriverNew
 Drivers and software for operating systems Windows 11, Windows 10, Windows 8, Windows 8.1, Windows 7, Windows Vista, Windows XP (64-bit / 32-bit)
Scanner Model: Canon CanoScan LiDE 500F
How to install the scanner driver correctly: Do not connect the scanner to the computer. Start installing the software first. During installation, a message will appear on the monitor informing you when to connect the scanner to your computer.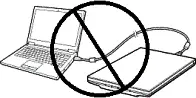 If you see the message ‘Found New Hardware’ on the screen, click Cancel and disconnect the USB cable. Then proceed to install the software. A common mistake when installing a driver is that you first connect the device to your computer using a USB cable and then install the driver. In this case, the operating system detects the connected device and installs its own driver, which may not work correctly or not work at all. However, some other devices may work fine with the driver installed by the operating system. Therefore, if there is a driver specially created for your device, then first start installing this driver and only then connect the device to the computer.
Software for Windows operating systems

Download scanner driver for Windows (64-bit)
Download scanner driver for Windows (32-bit)
This is a software that allows your computer to communicate with the scanner
Canon CanoScan LiDE 500F
After installing the drivers, restart your computer and install the scanning software.
CanoScan Toolbox v. 4.932
Scanning Software – CanoScan Toolbox
File version: 4.932. File Size: 5 MB
Settings of the ‘CanoScan Toolbox’ software for the Canon scanner.
Instructions on how to scan using the “CanoScan Toolbox” software (ver. 4.932) and easy settings for Canon scanner. Install the scanner driver first, and then install the “CanoScan Toolbox” software. After installing the “ToolBox” software, a shortcut to this software will be created on the desktop of the computer.
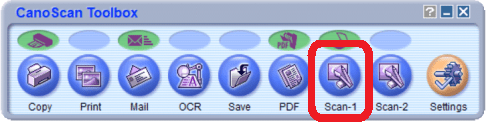 To set up the software, connect the device to a computer and click the “Photo-1” button.
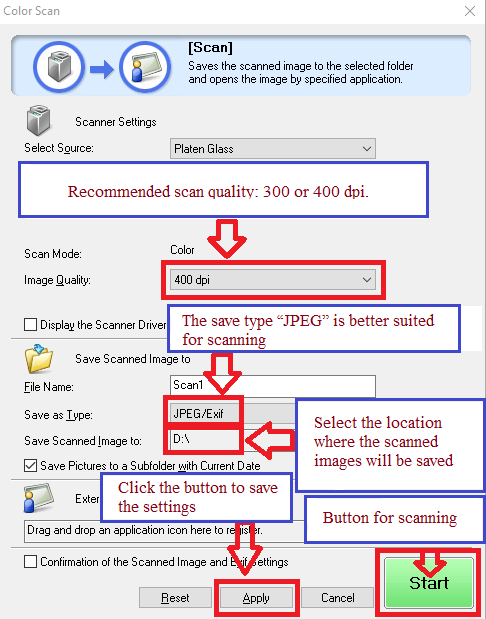 Scanning quality is recommended to be set: 300 or 400 dpi (suitable for scanning any documents and photos). The higher the quality, the longer the scan takes and the larger the file size. The save type “JPEG” is better suited for scanning. Select the location where the scanned images will be saved. Click the “Apply” button to save the software settings. No other settings are required. To scan, press the ‘Start’ button. The software allows you to scan quickly and conveniently.
If you have problems using this software, you can use the easier way to scan documents and photos.
You can scan using free Windows tools or the NAPS2 app.
Windows Scan is a free app for Windows 11, Windows 10, and Windows 8.1 that you can download from the Microsoft Store and use to scan documents and pictures.
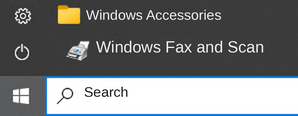
Windows Fax and Scan is a built-in app for Windows 10, 8.1, 8, and 7. To open it, click Start or use Windows Search. In the search box, type: Windows Fax and Scan.
NAPS2 is a free scanning app that lets you save files as PDF, TIFF, JPEG, or PNG and offers more flexible settings.
To learn more about these apps, which one to choose, and how to use them, read this article.
Important: These apps require a scanner driver. If a driver from the manufacturer is available for your model, it is best to install it first. If Windows has already installed a driver automatically and scanning works properly, reinstalling it is usually not necessary.



Leave a Reply