Last Updated on 23.01.2026 by DriverNew
 In this article, you will find complete instructions on how to download the Canon LBP6018L (LBP6018L+) driver, install it correctly on your computer, and solve possible problems that may occur during installation or while using the printer.
Important Information Before Installation
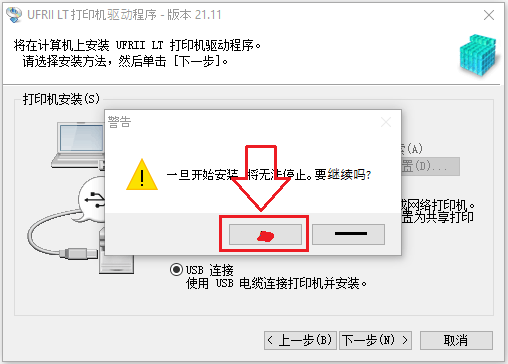
Before installing the Canon LBP6018L driver, please note one important rule: do not connect the printer to your computer before starting the installation. The printer must only be connected when the installation program asks you to do so. At that moment, a message will appear on the screen asking you to connect the Canon LBP6018L printer to the computer with a USB cable and turn it on. Only then will the system continue the installation.
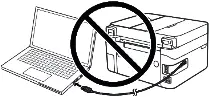
If you connect the printer earlier, the driver may not install correctly, and the Canon LBP6018L printer will not work. Prepare the printer and USB cable in advance so they are close to the computer. During installation, there is a limited time to connect the printer. If you do not connect it in time, the installation will stop, and the driver will not be installed.
Download the Canon LBP6018L (LBP6018L+) Driver
Canon LBP6018L drivers are available for download on the Canon official website (in Chinese). To make the process easier, below is a link to this version of the driver, which will ensure stable operation of the Canon LBP6018L printer.
Printer drivers for Windows 11, Windows 10, Windows 8.1, Windows 7 (64-bit / 32-bit):
![]()
Download printer driver for Windows
Printer driver file: LBP6018_V2111_WP_SC.exe. Language: Chinese.
Step-by-Step Installation of the Canon LBP6018L (LBP6018L+) Driver
Once you have downloaded the Canon LBP6018L driver, you can begin the installation process.
Since the downloaded file is an archive, double-click on it to extract the contents. A new folder with the same name will appear in the same folder. Inside, find the [BootUp] directory and run the [Setup.exe] file. This will open the Canon LBP6018L driver installation wizard.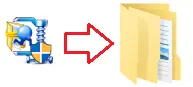
![Inside, find the [BootUp] directory and run the [Setup.exe] file](https://drivernew.com/wp-content/uploads/2026/01/88009.png)
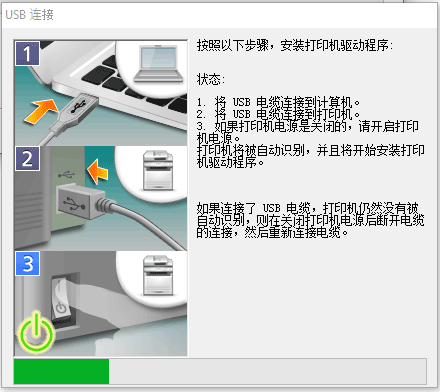
A window will appear on the screen asking you to select the connection method. In most cases, a USB connection is used, but network setup is also available.
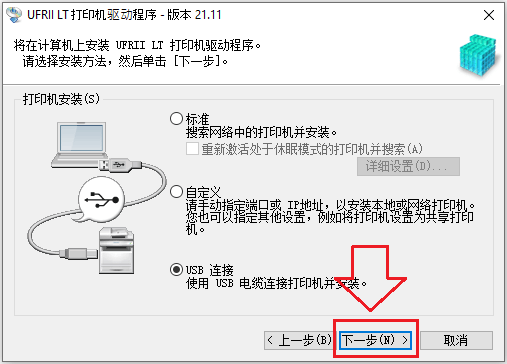
During the USB installation process, the program will display a message asking you to connect the Canon LBP6018L printer to your computer using a USB cable and turn it on. After you complete this step, the installation will continue and finish automatically.
If you plan to use the Canon LBP6018L printer in a network environment, first configure the network settings using the [MF/LBP Network Setup Tool] and then install the driver. If you are using a USB connection, you only need to install the driver.
![first configure the network settings using the [MF/LBP Network Setup Tool]](https://drivernew.com/wp-content/uploads/2026/01/Network_Setting_Tool.png)
Why it is important to install the driver specifically for Canon LBP6018L (not a “similar” driver from other models)
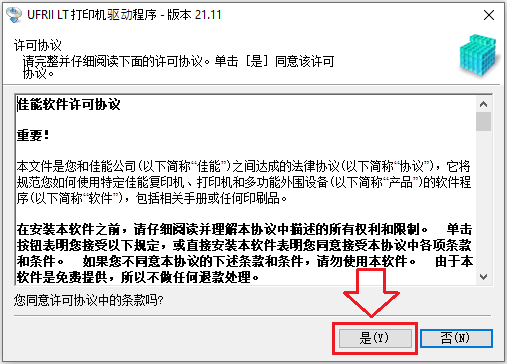
It is important to install the correct package for LBP6018w/LBP6018L/LBP6018w+/LBP6018L+. These models belong to a product line for which Canon provides a separate UFRII LT driver, and the most reliable option is to install the package where your model is explicitly listed (LBP6018w / LBP6018L / LBP6018w+ / LBP6018L+). This ensures the driver contains the required device IDs and Windows will bind the printer correctly, avoiding cases where the driver seems installed but printing is unstable or the printer is detected incorrectly. The installer wizard language (Chinese) usually affects only the Setup program itself, not the language of Word or Windows.
If Setup.exe does not start or the installation fails (for example, due to system restrictions/permissions/policies), you can install the driver via INF. In that case, in the “Have Disk” window it is better to select not a single INF file but the folder …\x64\Driver (or …\32BIT\Driver for 32-bit Windows) so Windows can automatically find the correct INF and load all related driver files. If for some reason Windows does not find the model when you select the folder, then you can point to the specific file CNLB0CA64.INF manually.
Step-by-step installation (via INF, if you have problems installing via Setup.exe)
Run LBP6018_V2111_WP_SC.exe and extract it to a folder that is convenient for you. Open that folder and make sure it contains: …\UFRII\simplified_chinese\x64\Driver

1. Connect and turn on the printer
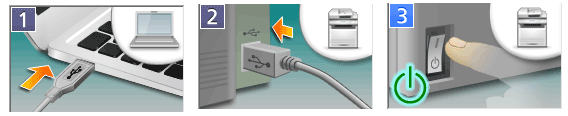
Connect the Canon LBP6018L to the computer using a USB cable. Turn on the printer and wait about 10–20 seconds.
If Windows shows the status “Driver unavailable,” just continue — the next steps will fix it.
2. Open the classic “Add Printer” wizard
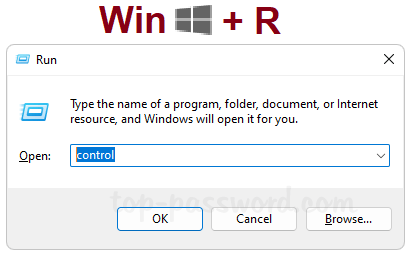
Press Win + R. Type control and press Enter to open Control Panel.
In Control Panel, go to: Hardware and Sound → Devices and Printers. Click “Add a printer.” The system will start searching for connected printers.
If your printer does not appear in the list, click: “The printer that I want isn’t listed.”
3. Choose manual setup
In the window that opens, select: “Add a local printer or network printer with manual settings” and click “Next.”
In “Choose a printer port,” select “Use an existing port.” From the list, select USB001 (Virtual printer port for USB). Click “Next.”
Note: If printing does not work later, you can try USB002 in: Right-click the printer → “Printer properties” → “Ports” tab.
4. Install the Canon driver using “Have Disk…”
In “Install the printer driver,” click: “Have Disk…” → “Browse…”
In the file selection window, go to the folder where you extracted the driver, then to: …\UFRII\simplified_chinese\x64\ Select the “Driver” folder and click “Open” → “OK.”
In the list, select the Canon entry for the LBP6018 series (it may appear as LBP6018L or as a general family line, for example LBP6030/6040/6018L). Click “Next.”
If the system asks whether you want to replace the existing driver, select: “Replace the current driver” → “Next.”
Enter a printer name, for example Canon LBP6018L, then click: “Next” → “Finish.”
After the installation is complete, return to “Devices and Printers”: Right-click the new printer. Select “Printer properties.” Click “Print Test Page” to verify printing.
This video shows you how to install a device driver manually using “Have Disk” in the Windows operating system.


Leave a Reply